

Managing Folders
From the menu, click Admin, then click Folders under the Fileroom Management column, or click the Folders button below the admin menu.
Add Folder
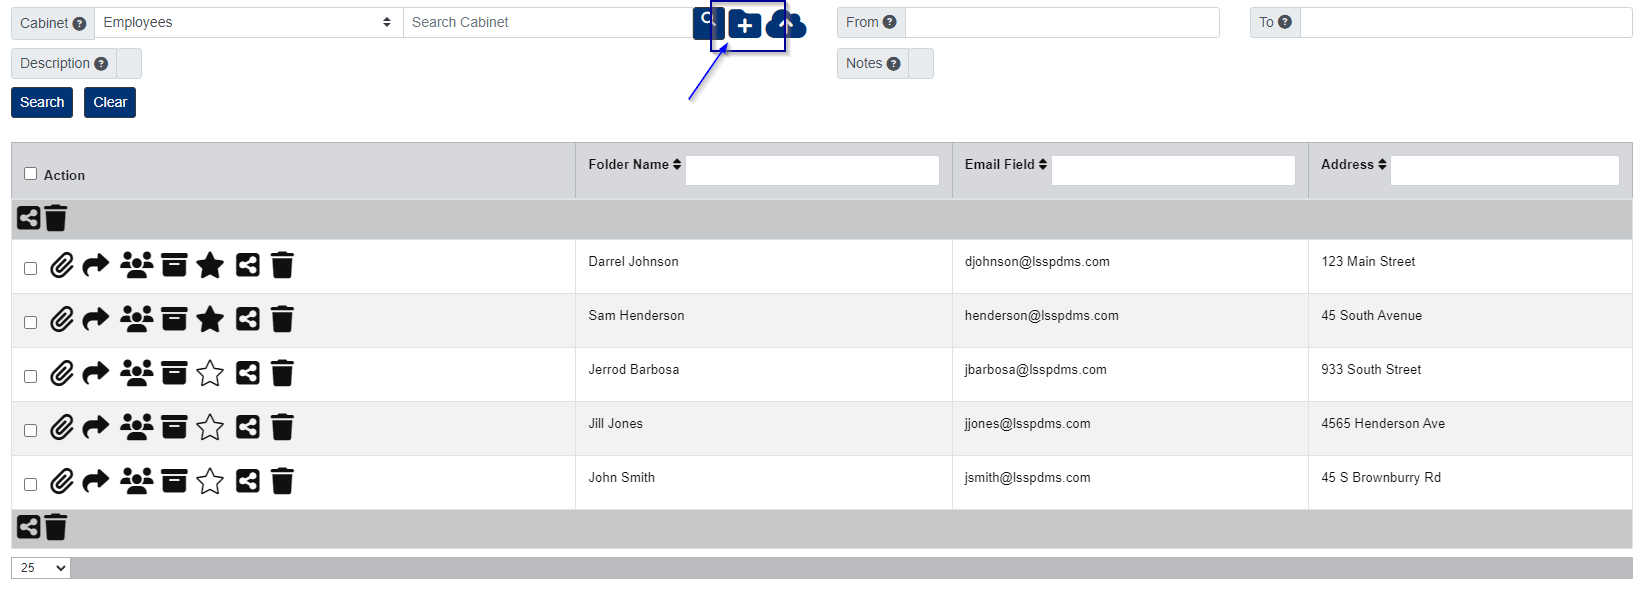
- Select the Cabinet you want to add a folder to.
- Click the + button located to the right of the Cabinet field.
- In the pop-up window that appears, enter the required information for the Folder Fields.
- Click the Save button.
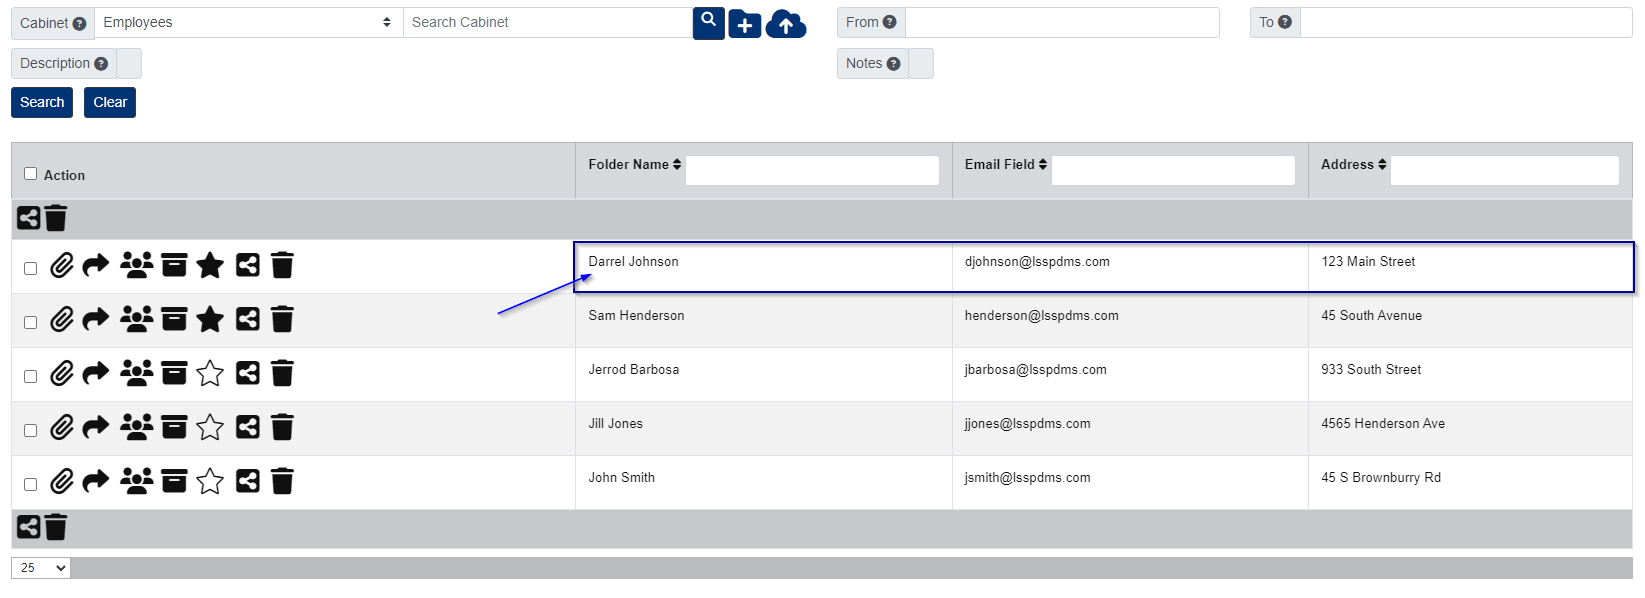
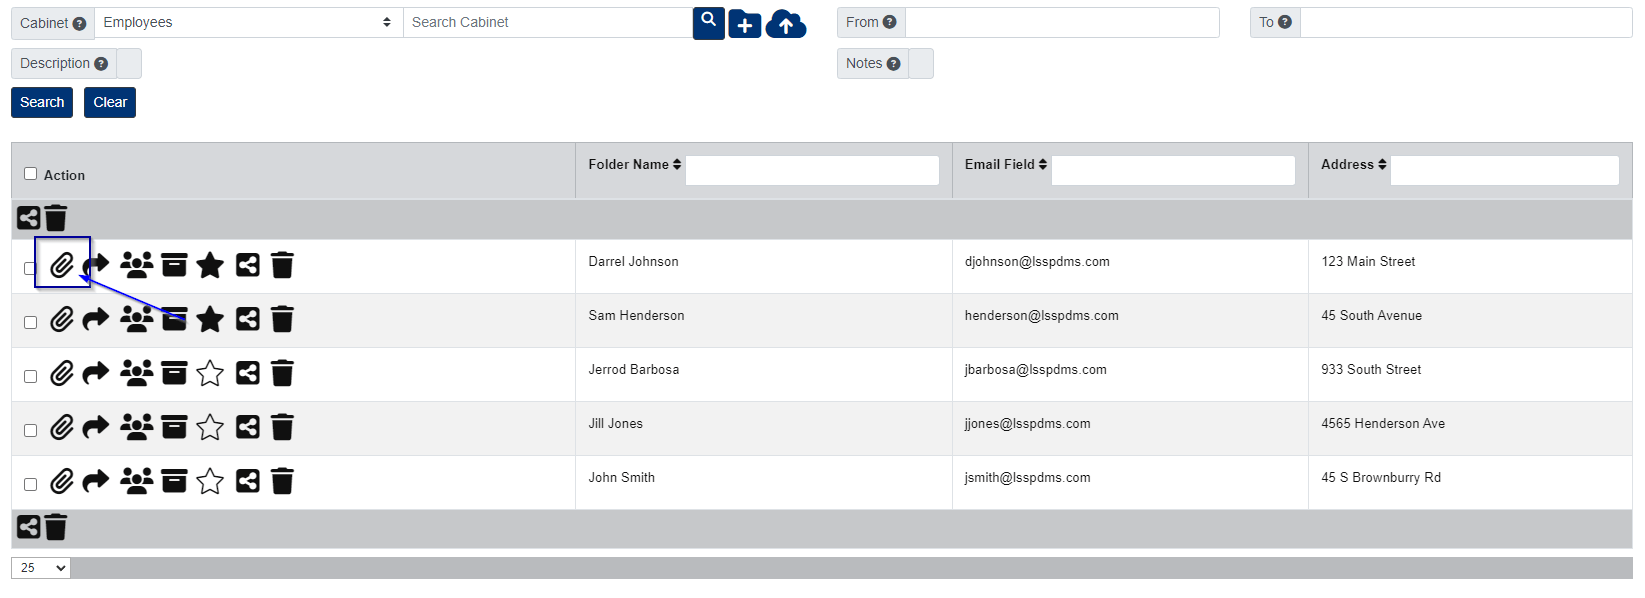
Edit Folder/Folder Security
- Select the Cabinet the folder belongs to.
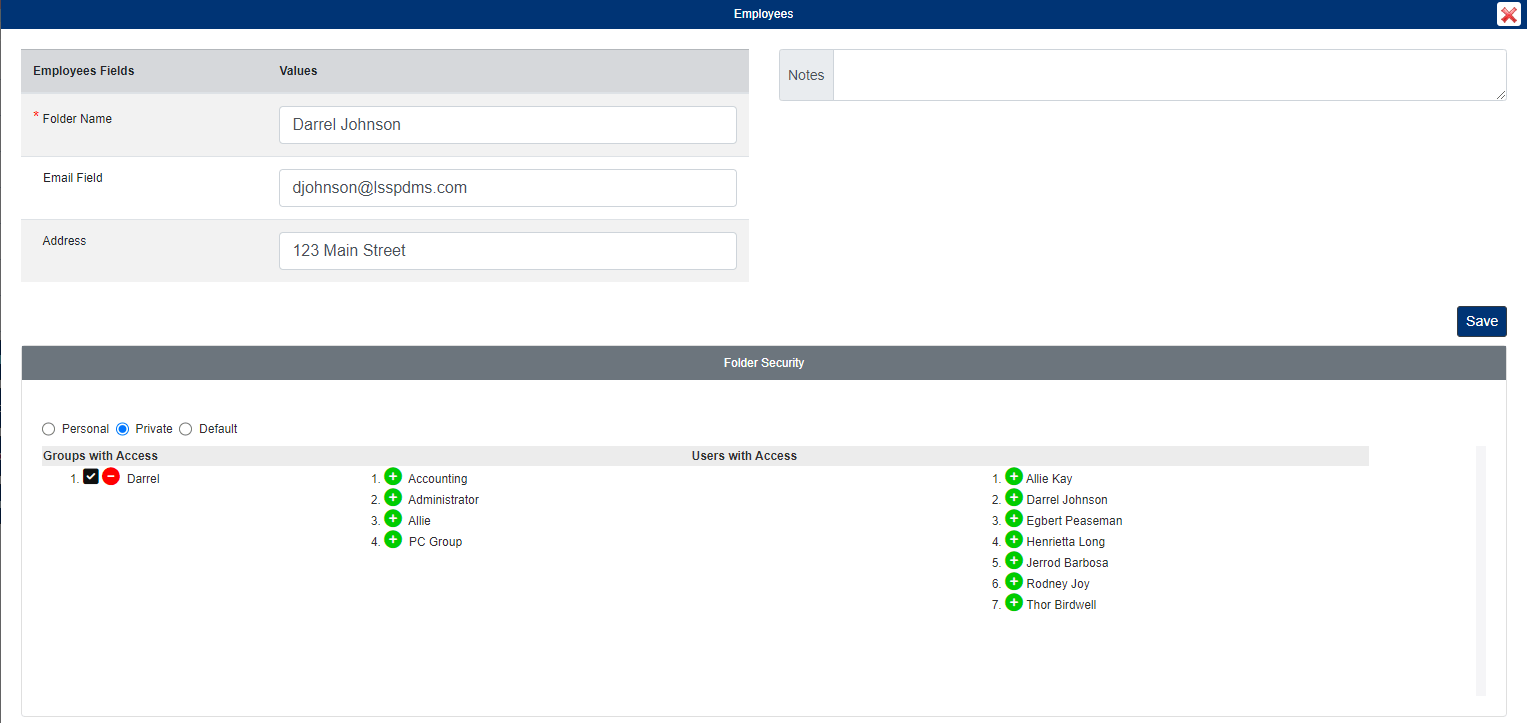
- Use the folder detail fields to locate the folder, then click any of the folder details to open the folder.
- In the pop-up window that appears, update the folder details as needed.
- If you would like to make a folder a private folder, click Private, then add the Groups/Users you want to give folder access to.
- When you are finished, click the Save button.
Delete Folder

Please note, you can only delete a folder if it is empty and there are no recoverable documents for the folder. If the folder is empty, please check your Document Recovery by going to Admin > Recovery > Documents in the menu.
- Under the Actions column, click the Delete button next to the folder you want to delete.
- Click Yes to confirm.
- You can delete multiple folders at a time by selecting the folders under the Action column, then clicking the Delete button above the list of folders.
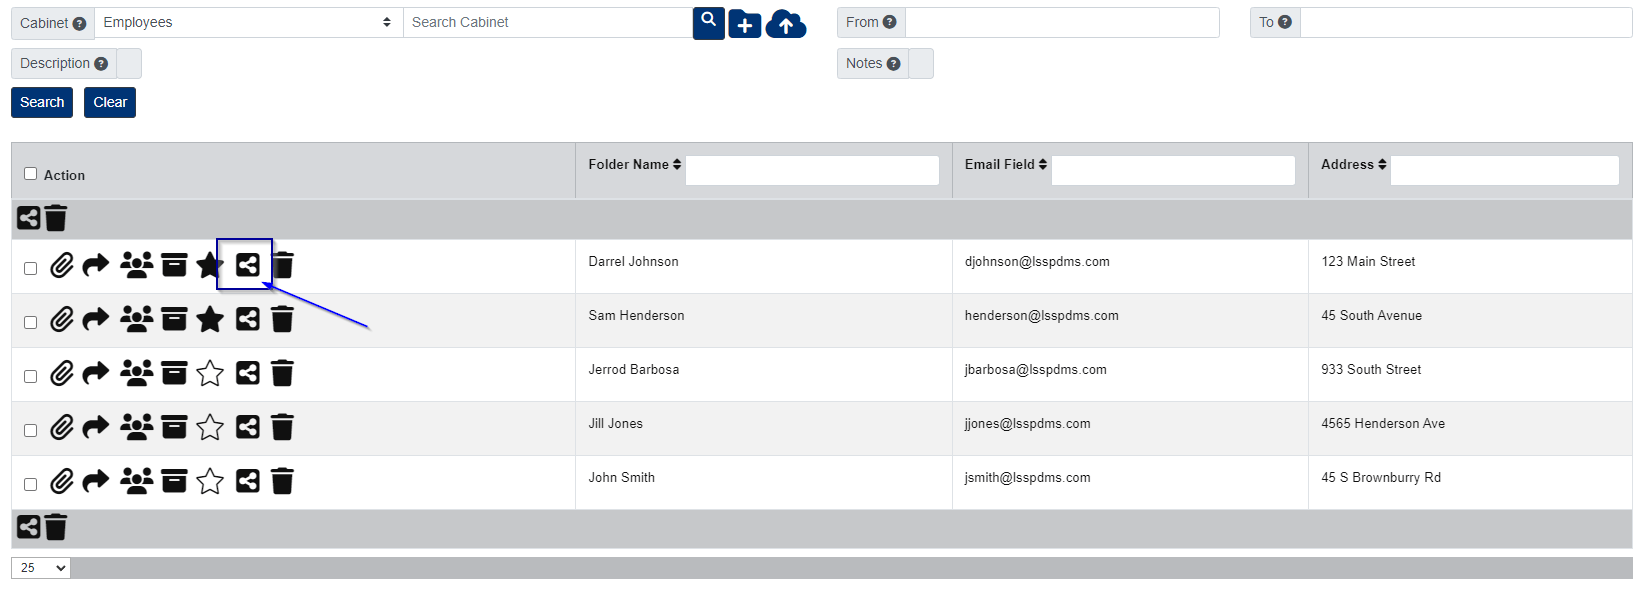
Share Folder/Sub-Divider

This action emails an external link to view the documents within the folder or sub-divider you share. You do not need to reshare the folder or sub-divider when documents are deleted or added.
- Under the Actions column, click the Share Documents button next to the folder.
- In the pop-up window that appears, enter the Email(s) you want to share the folder to.
- If you would like to share only one sub-divider in the folder, select the Sub-Divider, otherwise do not select a Sub-Divider.
- If you would like the documents to be editable, check the box for Editable Link.
- Enter the End Date.
- Click the Share button.
Move Folder

This action allows you to move a folder from one cabinet to another.
- Under the Actions column, click the Move Folder button next to the folder.
- In the pop-up window that appears, start by selecting the cabinet you want to move the folder to.
- If you need to add a new folder in the cabinet you selected, click the blue + next to the Cabinet field, then enter the folder information and click the blue Create Folder button. You will then see the new folder selected in the Folder field.
- If you are merging the folder to an existing folder in the cabinet, select the folder in the Folder field.
- Select the sub-divider in the Sub-Divider field, unless you need to add a new one. To add a new sub-divider, click the blue + next to the Sub-Divider field to add a new one to the selected cabinet.
- If you want to delete the original folder after you submit, check the Delete Folder box.
- When you are ready, click the blue Submit button.
Favorite Folders

This action allows you to mark any folders as your favorites so that they are always at the top of your list by default.
- Under the Action column, click the Favorite button next to the folder.
Send Custom Form
This action allows you to send one of your external forms.
- Under the Actions column, click the Send Custom Form button.
- In the pop-up window that appears, start by selecting the Form.
- Select the Sub-Divider and Doc Type you want the submitted form filed to within that folder.
- Enter the Doc Name you want assigned to the submitted form.
- You have the option of entering a Start Date and End Date if you wish.
- You have the option of having the submitted form sent to SmartScan Native to be auto-filed using your Native Distribution Rules. This is instead of having the submitted form filed back to the same folder.
- You have the option of entering in Ext Email(s) you want to send the form to.
- You have the option of Generating the external link to the form, if you wish to add the link somewhere online or send the link through a source outside of PinPoint.
- You have the option of using the Folder Email assigned to the folder you selected, as well.
CM Link
If you would like to link an Account to an existing folder, please follow the steps below:
- Under the Actions column, click the CM Link button next to the older you want to link an Account to.
- Select the Account (and Contact If needed).
- Click the Add button.
Assign Onboard

If you would like to assign an onboard to an existing folder, please follow the steps below:
- Under the Actions column, click the Start Onboard button next to the folder.
- In the pop-up window that appears, select the Onboard.
- Check Retroactive if you want the to count existing documents in the folder.
- Click the Add button.