
Manage Groups
From the menu on the left-side of the screen, click Admin, then click Groups under the third column: Security Management.
Add Group
- Click the Add Group button.
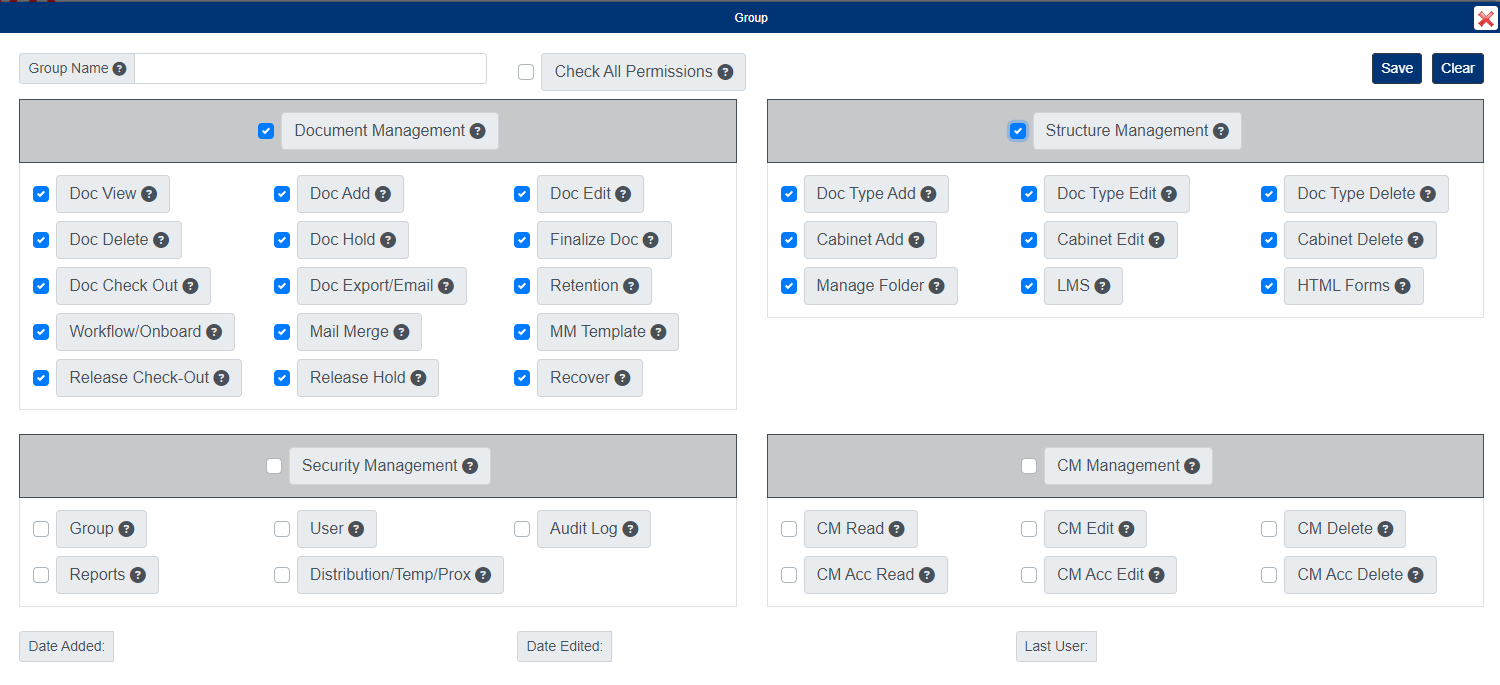
- In the pop-up window, enter the Group Name.
- Select the default permissions for the group.
- Click the Save button when finished.
Assign Group to Fileroom

- Under the Actions column, click the Manage Filerooms button next to the group.
- In the pop-up window, add the filerooms you want the group assigned to.
- Close the window when finished.
Add Users to Existing Group

- Under the Actions column, click the Add Users button next to the group.
- In the pop-up window, add the users you want in the group.
- Close the window when finished.
Edit User Permissions within Existing Group
- Under the Actions column, click the Add Users button next to the group.
- In the pop-up window, edit the user permissions as needed.
- Click the Save button when finished.
- Clicking the Set Default button will set all users permissions to the default permissions set for the group.
Edit Default Permissions for Group

- Click the Group Name.
- Update the default permissions for the group.
- Click the Save button when finished.
Delete Group

- Under the Actions column, click the Delete button next to the group. Deleting a group will not delete the users within the group.
- Click Yes to confirm.