Managing Sub-Dividers
Sub-Dividers are used to “divide” the documents you have within a folder. Only one sub-divider is required for each cabinet.
Add Sub-Divider
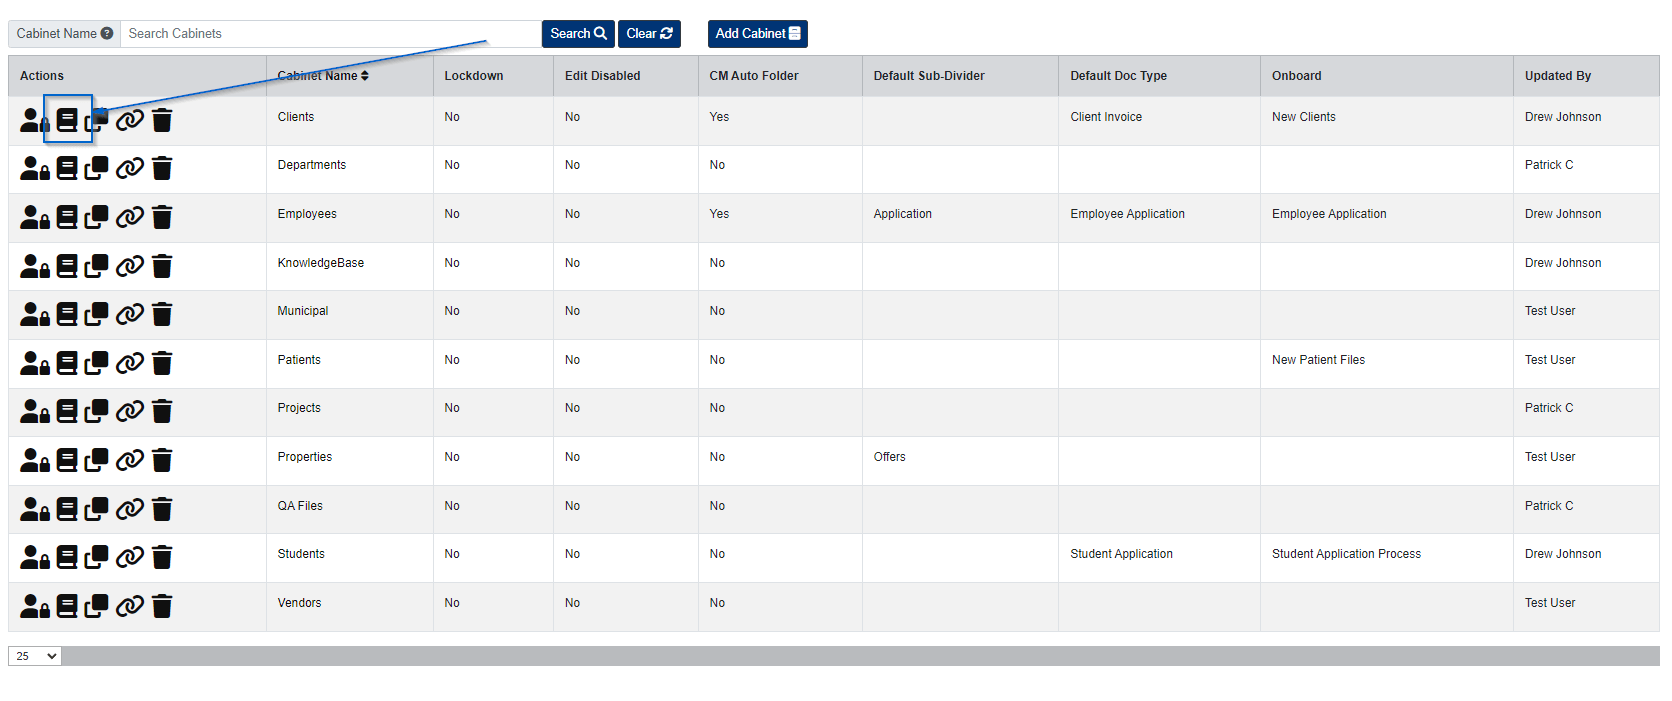
- From the menu, click Admin, then click Cabinets under the Fileroom Management column, or click the Cabinets button below the admin menu.
- Under the Actions column, click the Sub-Dividers button next to the cabinet.
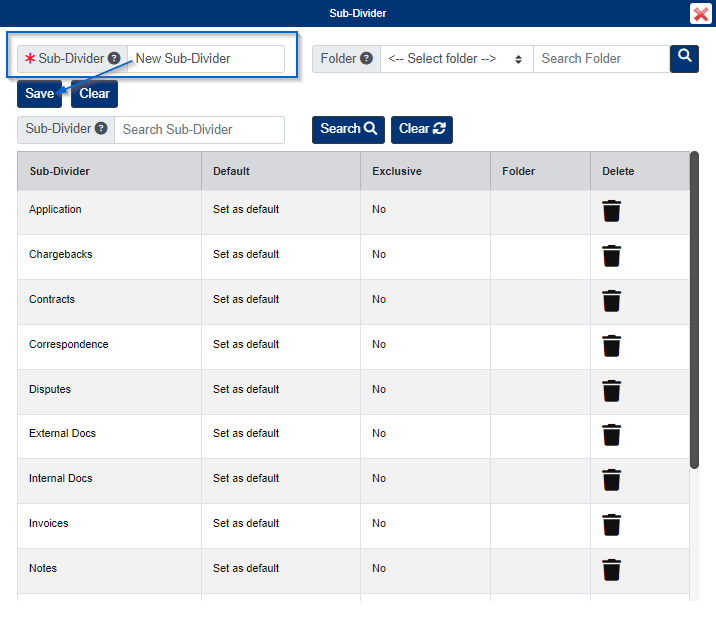
- Enter the Sub-Divider Name.
- If you want to assign the sub-divider to one folder exclusively, select the Folder you want to assign the sub-divider to.
- Click the Save button when finished
- If you want to assign the sub-divider as the Default for the cabinet, click Set as Default.
- If you want to assign the sub-divider as the Default for the cabinet, click Set as Default.
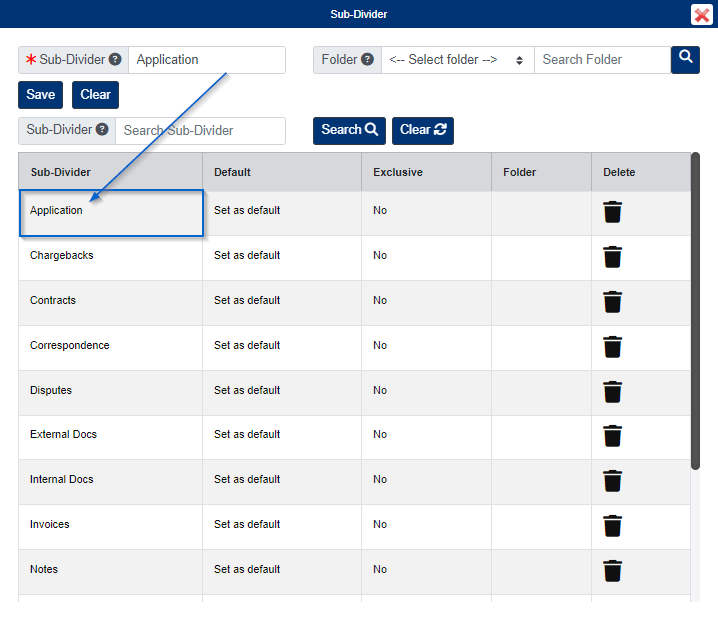
Edit Sub-Divider
- Click the Sub-Divider Name, then edit the Sub-Divider as needed.
- Click the Save button when finished.
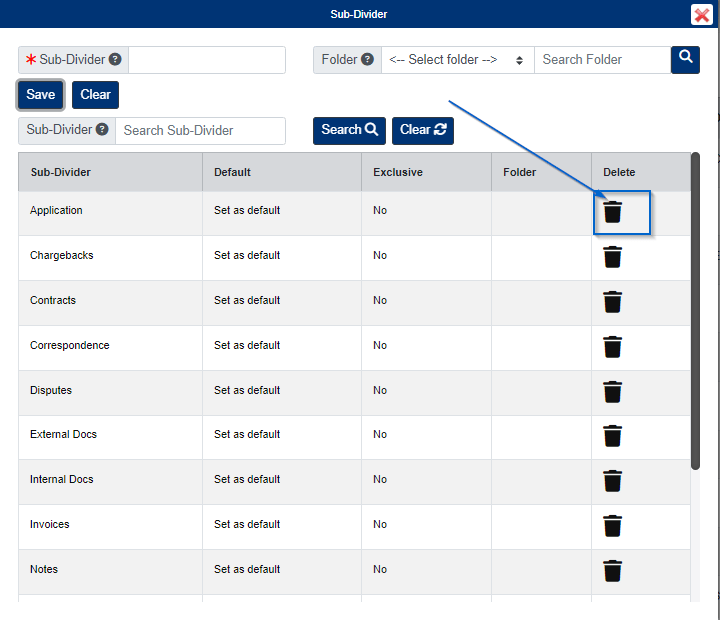
Delete Sub-Divider
Please note, you can only delete a sub-divider if it is empty and there are no recoverable documents for the sub-divider.
- Click the Delete button next to the sub-divider.