
Managing Cabinets
Think of cabinets in PinPoint just as you do cabinets in your office. Cabinets help you separate your documents at the highest level into subject matter. Each cabinet will have its own set of folders and sub-dividers to help you organize documents efficiently.
From the menu, click Admin, then click Cabinets under the Fileroom Management column, or click the Cabinets button below the admin menu.

Add Cabinet
- To begin, click the Add Cabinet button located at the top of the page and a pop-up window will appear.

- Enter the Cabinet Name.
- Using the icon buttons above Field Name, select the folder field types you would like to add. You are required to add at least one folder field for the cabinet.
- Check the boxes Folder Title and Required for the folder field you want displayed in searches. Only one folder field can be set as the Folder Title.
- If needed…
- You can change the character limit for each folder field using the Size. The maximum characters you can set per field is 99.
- You can make a folder field unique by checking Unique.
- You can adjust the folder field format using the Mask button.
- You can enter a Tool Tip for the folder field, which will be visible when users place their mouse over the folder field when creating a new folder in the cabinet.
- When you are finished adding folder fields, click Save.
- After saving your new cabinet, a “Default” Sub-Divider will be automatically added for you. Each cabinet must have at least one sub-divider.
- Sub-dividers are used to “divide” different document types within the folders in the cabinet. If you would like to keep the “Default” sub-divider, you do not need to do anything more for the cabinet. If you would like to add more sub-dividers, click the Sub-Divider button under the Actions column.

- Sub-dividers are used to “divide” different document types within the folders in the cabinet. If you would like to keep the “Default” sub-divider, you do not need to do anything more for the cabinet. If you would like to add more sub-dividers, click the Sub-Divider button under the Actions column.

Cabinet Security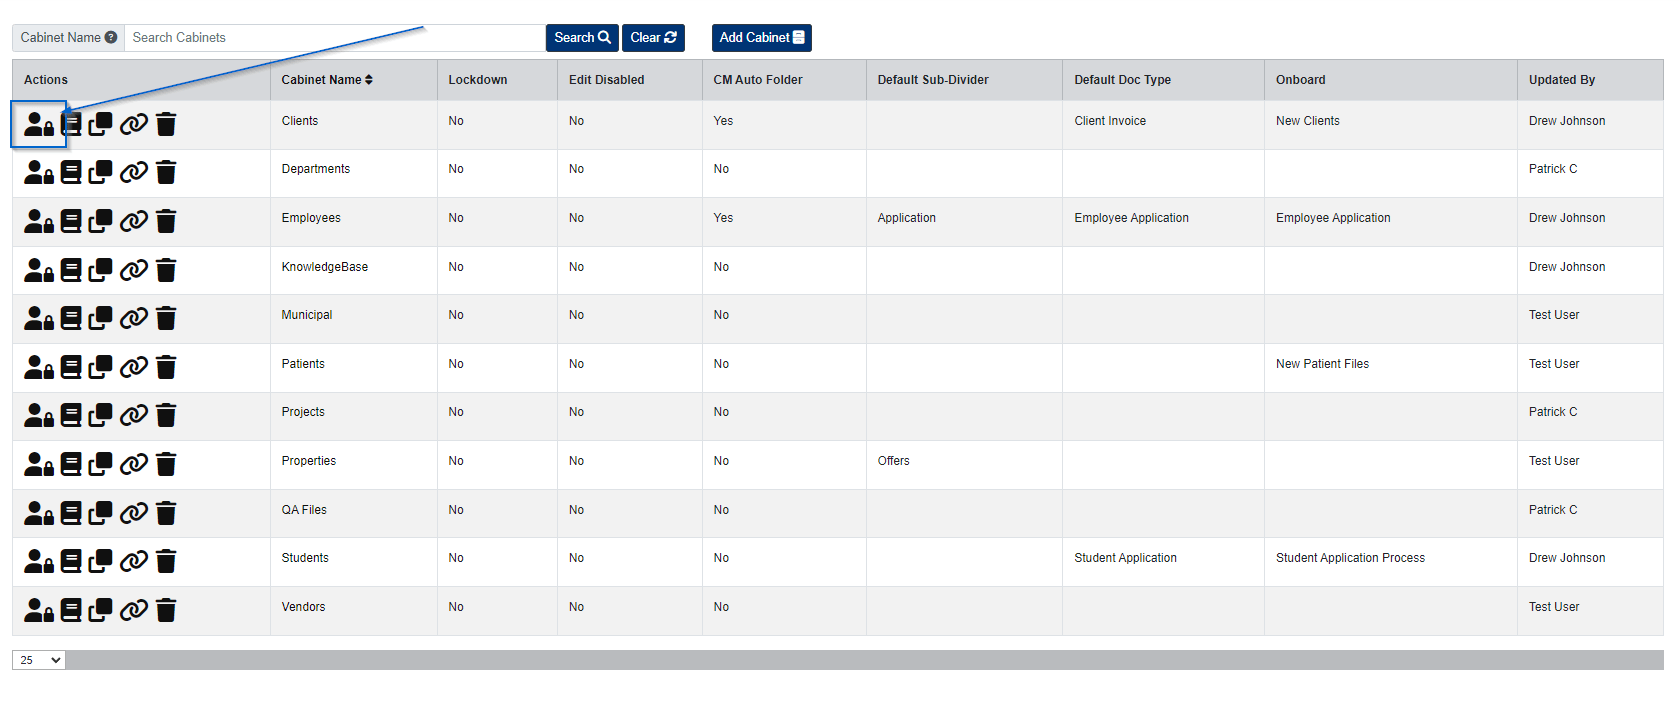
- Under the Actions column, click the Security button next to the cabinet you want to set security for.
- In the pop-up window, select the Group/Users you want to give access to the cabinet.
- Close the window when finished.
Edit Cabinet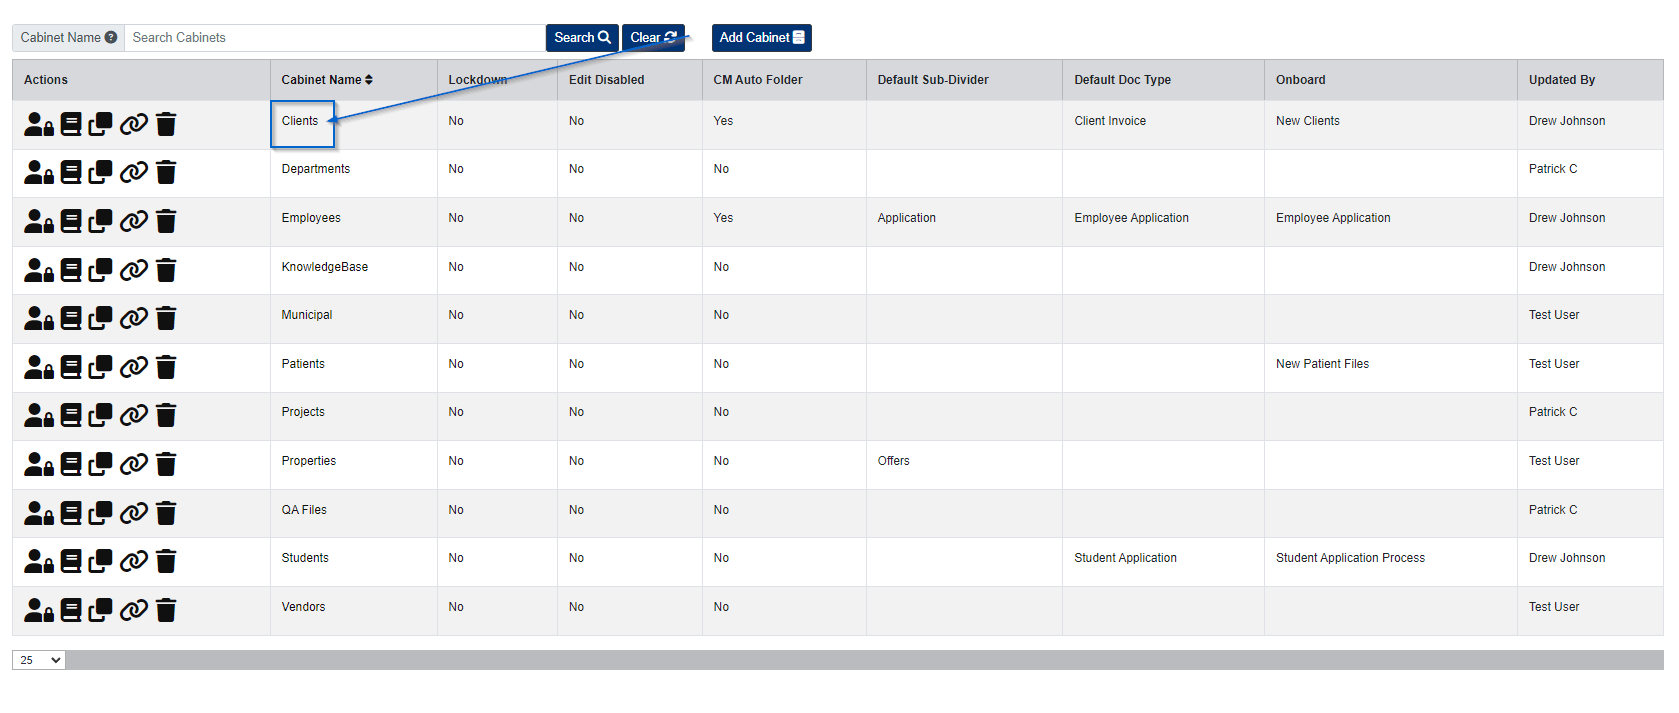
- Click the Cabinet Name to edit a cabinet.
- A pop-up window will appear with the cabinet settings. If you are logged in as the main admin account, you can also re-order folder fields any time by clicking the arrows below the Actions column.
- After making your changes to the cabinet, click the Save button.
Delete Cabinet
Please note, you can only delete a cabinet if it is empty and there are no recoverable documents for the cabinet.
- Under the Actions column, click the Delete button next to the cabinet you want to delete.
- a confirmation message will then appear. Click Yes to confirm.
Copy Cabinet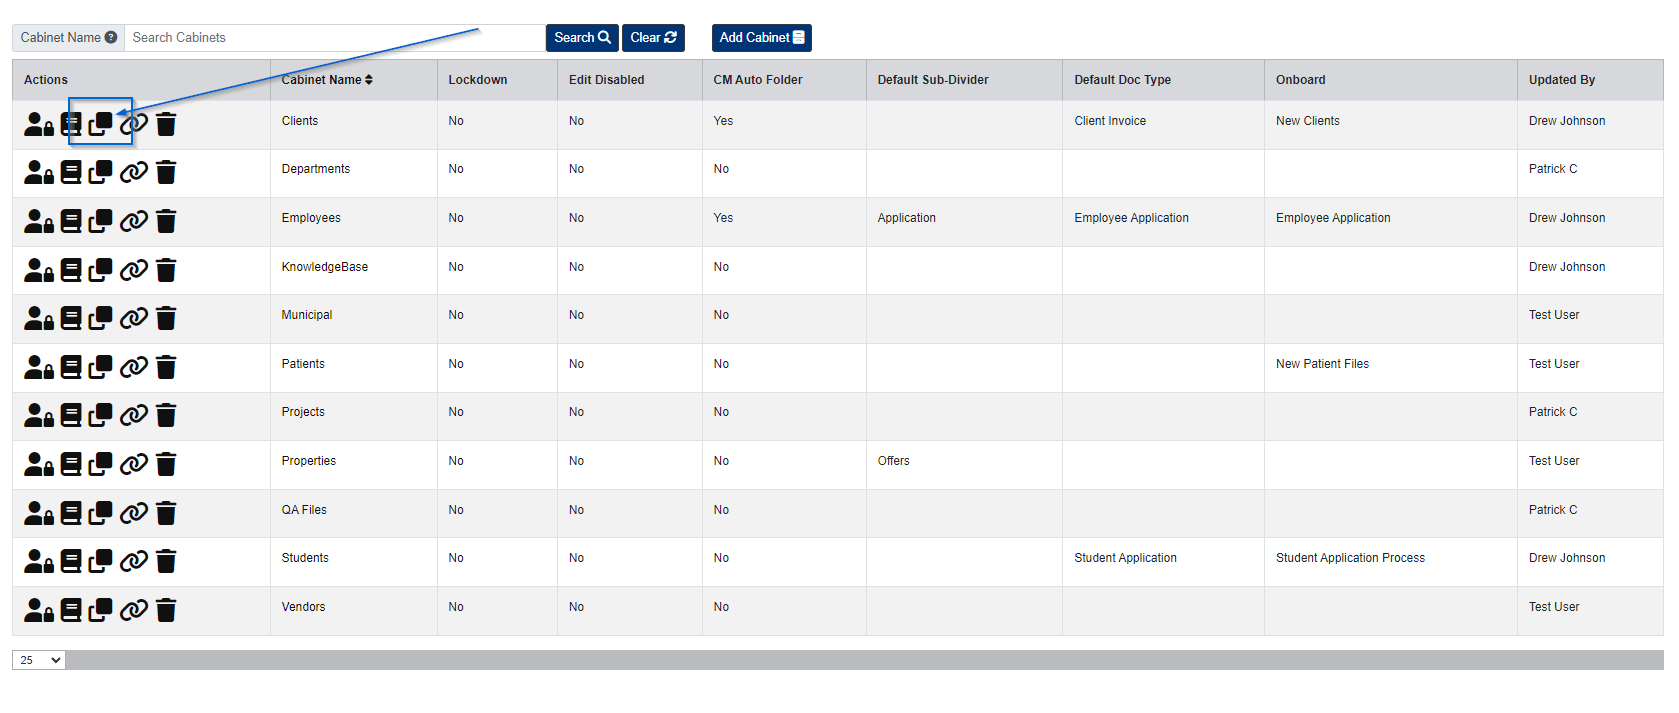
Copying a cabinet will copy the existing cabinet’s Folder Fields, Sub-Dividers, and Security. Changes can be made to the new cabinet once it has been added.
- Under the Actions column, click the Copy button next to the cabinet you want to copy.
- Enter the Cabinet Name.
- Click the Save button.
CM Link
If you would like to link an Account to an existing cabinet, please follow the steps below:
- Under the Actions column, click the CM Link button next to the cabinet you want to link an Account to.
- Select the Account (and Contact If needed).
- Click the Add button.